What is WSL?
I have been using WSL for development on Windows for quite some time, and I believe that it is the best possible way to use both Windows and Linux operating systems. Before finding WSL, I used a full Linux setup, dual boot, or other VM software. For example, dual boot was a bit risky for me because once, when I tried to install Ubuntu and Windows together, I accidentally erased the Windows OS. That was painful, and I needed to find a solution for it.
After some years, I eventually made a dual boot and used it a lot. However, I created a 50 GB partition from Disk C on my local computer, and I don’t have much space there since it is an SSD. When I ran out of space, I tried to find a solution and discovered WSL. After that, I found peace; I really liked it. If you need a GUI environment, you need to put in some effort, but if you are comfortable with headless computing, it works just fine.
Another nice feature is that you can have different distributions at the same time with different instances. For example, I have one Ubuntu 20.04 and two 22.04 instances. Why two? Because I need one of them for a special development environment, so I have it set up like that, etc., etc.
So What Is This WSL?
If you ask what WSL stands for, it stands for Windows Subsystem for Linux it is compatibility layer developed by Microsoft to allow users to run Linux Environment directly on Windows without VM software or dual boot.
- There are version 1 and 2 in WSL and you can see some of the differences below in the table.
| Feature | WSL 1 | WSL 2 |
|---|---|---|
| Integration between Windows and Linux | ✅ | ✅ |
| Fast boot times | ✅ | ✅ |
| Small resource footprint compared to traditional Virtual Machines | ✅ | ✅ |
| Runs with current versions of VMware and VirtualBox | ✅ | ❌ |
| Managed VM | ❌ | ✅ |
| Full Linux Kernel | ❌ | ✅ |
| Full system call compatibility | ❌ | ✅ |
| Performance across OS file systems | ✅ | ❌ |
| systemd support | ❌ | ✅ |
| IPv6 support | ✅ | ✅ |
How to install WSL?
As a prerequisite you need Windows 10 version 2004 and higher (Build 19041 and higher) or Windows 11. First of all by opening cmd or powershell w/administrator mode and then run following
wsl --install
This command will enable the features neccessary to run WSL and install the Ubuntu distro of Linux. Or you can use following command to install specific distribution as well.
wsl --install -d <distribution name>
To see available Linux distributions to download through online store please use following command
wsl --list --online OR wsl -l -o
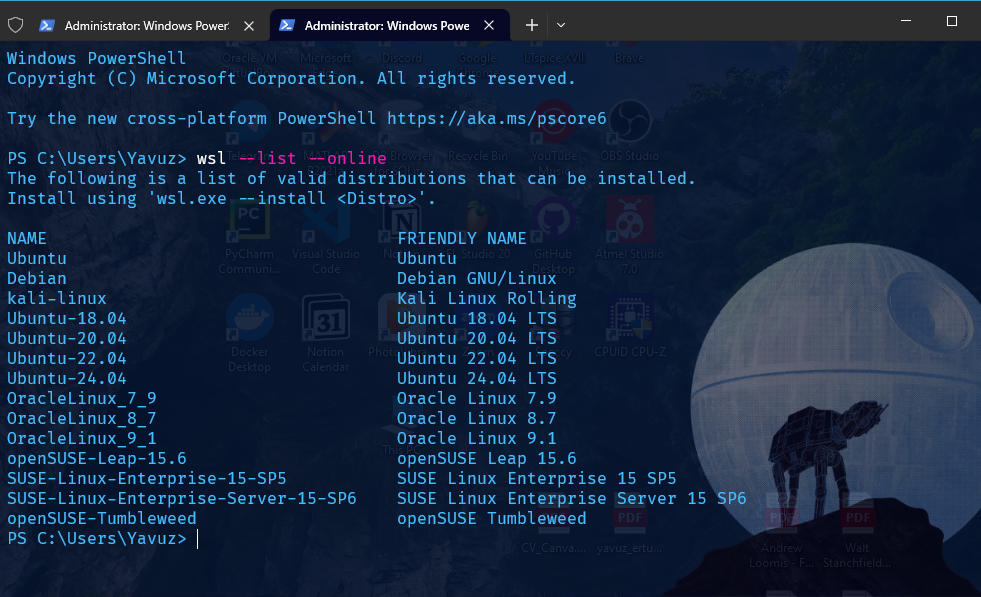
After selecting distribution and install along with the WSL now you can choose whether to use WSL 1 or WSL 2. If you check the WSL version from terminal you will see version is 1. As you can see below, my version is 2 in both distributions because I updated.
wsl --version
wsl -l -v
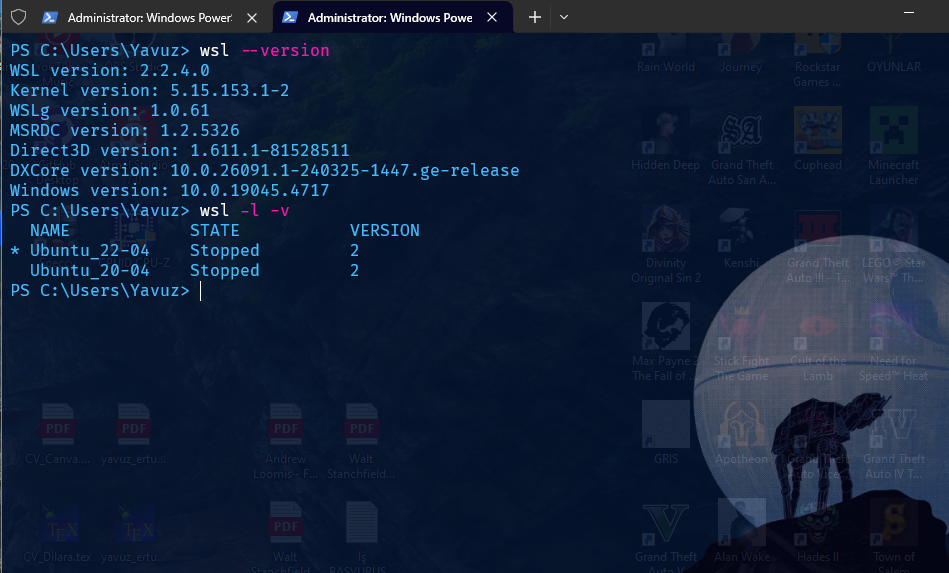
For example to set distribution to version to you need to run following command (e.g wsl –set-version Ubuntu-20.04 2)
wsl --set-version <distro name> <version no>
Okey after understanding and installing WSL now let’s check how to use it. If you have Windows 11 you already have Windows Terminal, but if you are using Windows 10 I recommend you to install Windows Terminal to use all terminals from one application.
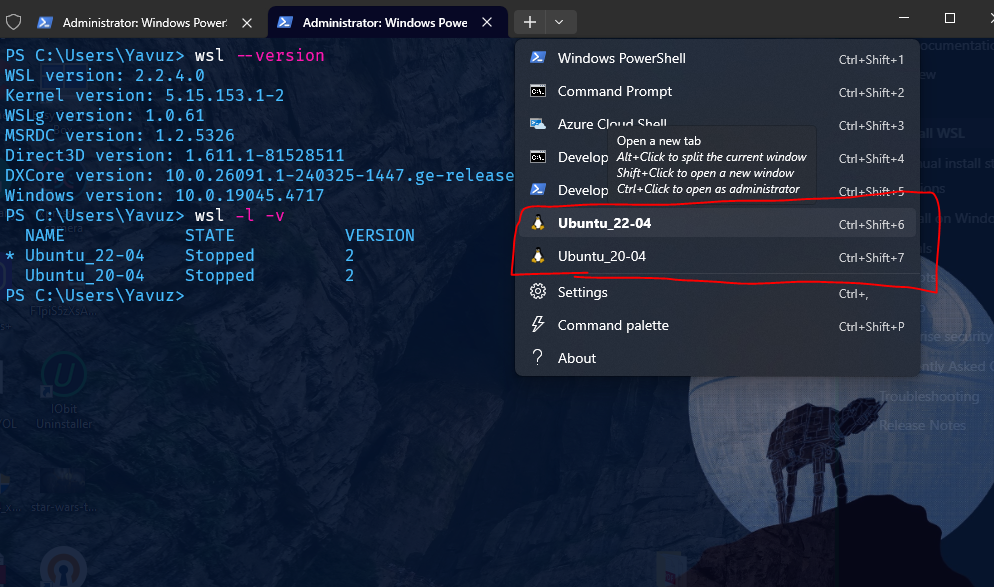
As you can see in the picture above I have two linux distributions and according to my need I can use them easily.
Below I have two distributions opened at the same time ready to be used for different applications as well.
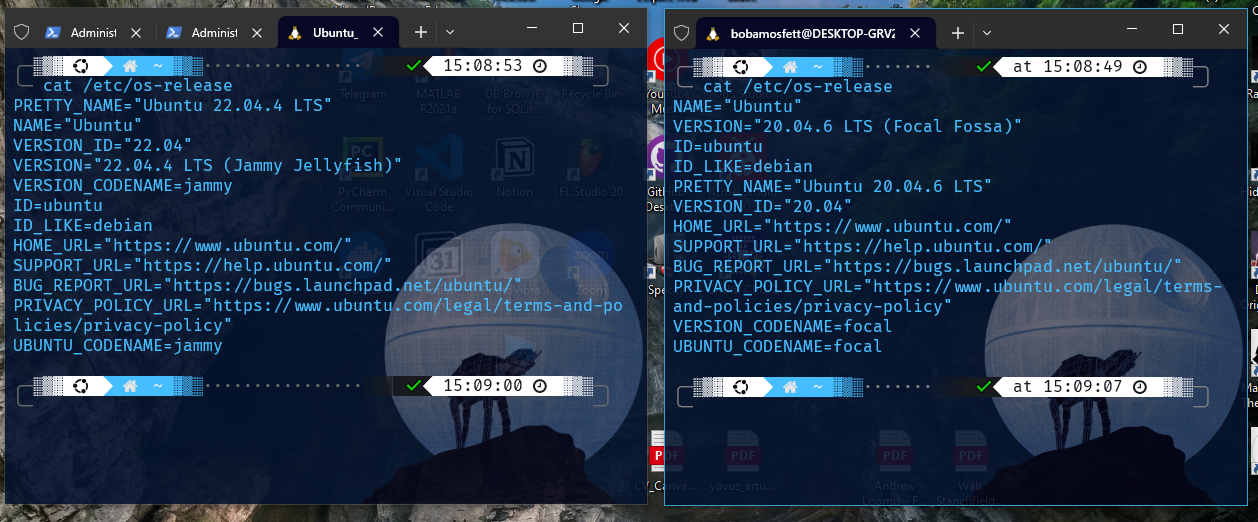
What I really like about this is I am developing program in both distributions for ROS(Robot Operating System)(ROS1 or ROS2) and not all ROS distributions work with Ubuntu 22.04 or 20.04 etc. so I need another distribution to work with it and WSL solved my problem since I am also okey with headless development, I don’t need GUI but if you need there are also solutions. You can check this video
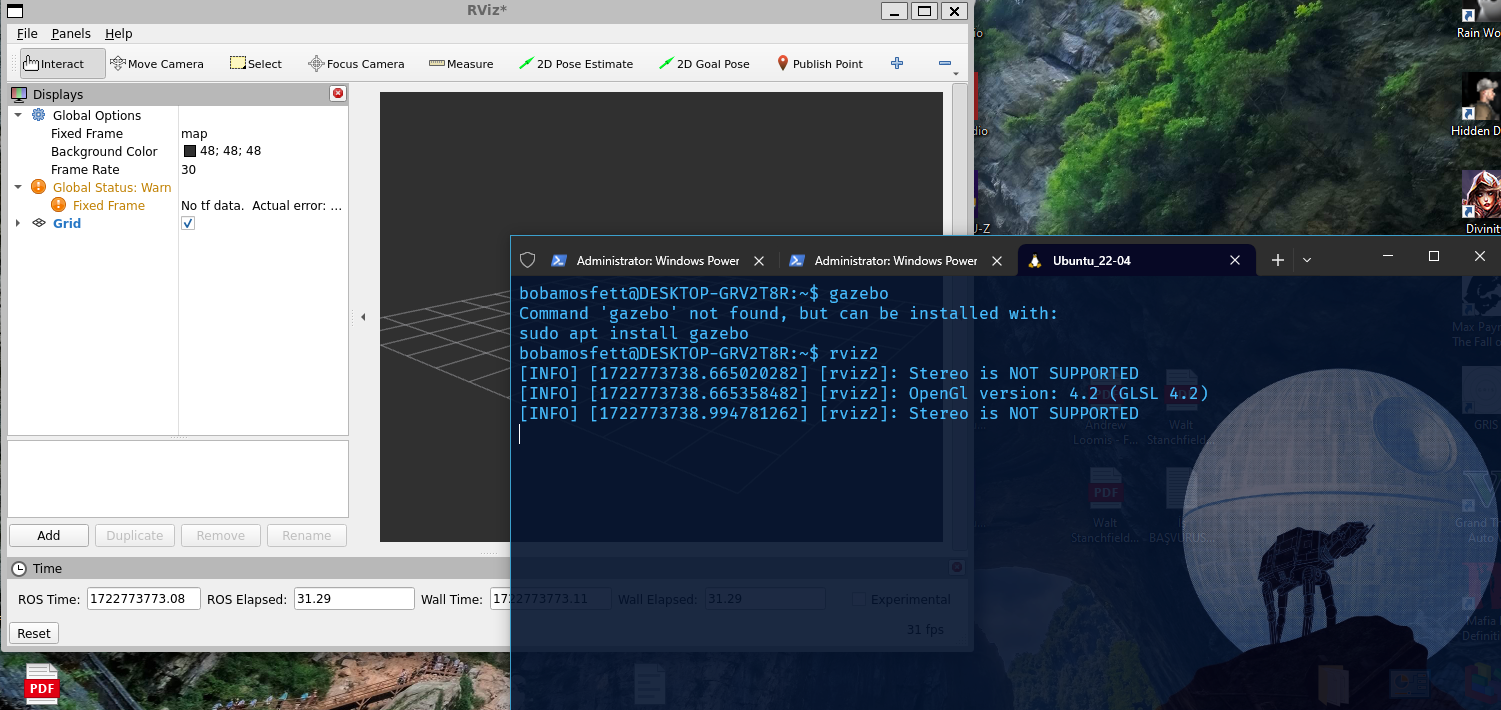
As you can see above I opened Rviz2 in WSL Ubuntu 22.04. Rviz2 is 3D visualization tool used in ROS2 environment, and it is running on full Linux.
Is there any way to install WSL on non-C drive?
When I first met with WSL I didn’t have enough storage on Disk C: so I needed to store it in the Disk D: and I researched whether it is possible or not and found that it is possible.
- However while some components of WSL are flexible in terms of storage location, core elements like the registry and the wsl.exe application are integral to the Windows system and remain fixed.
How to install on non-C drive?
First of all go and check downloading distributions from WSL documentation and you need to get link like this: https://aka.ms/wslubuntu2204
- Open Powershell and Set location to Disk D:
-
Set-Location D:
-
- Create a directory for installation and change its name to WSL let’s say
-
  New-Item WSL -Type Directory
  Set-Location .\WSL
-
- Using the URL above, we will download the appx package:
-
Invoke-WebRequest -Uri <appx_package_url> -OutFile Linux.appx -UseBasicParsing
-
- Make a backup and unpack:
-
  Copy-Item .\Linux.appx .\Linux.zip
  Expand-Archive .\Linux.zip
-
- Search for the installer:
-
Get-Childitem -Filter *.exe
-
-
You might find a file named «distribution».exe. Run that file, and the WSL distribution should be installed in the unpack folder of the other drive.
- If you don’t see an executable, let’s look for an .appx file that was just unpacked, that is the flavor you want, and unzip that, as follows:
-
  Set-Location Linux

  Get-Childitem -Filter *.appx

  ren .\Ubuntu_2204.1.7.0_x64.appx .\Ubuntu_2204.zip

  Expand-Archive .\Ubuntu_2204.zip

  Set-Location .\Ubuntu_2204

  Get-Childitem -Filter *.exe

  .\ubuntu.exe
-
You can now delete everything except ext4.vhdx (for WSL2, rootfs for WSL1), and ubuntu.exe file which starts that distro and can change the default username.
- Check the following links for more detailed information if these aren’t enough.
Moving Distro To Somewhere Else
First of all we need to close all terminals that we are using WSL, and then shutting it down to avoid data corruption.
wsl --shutdown
Then learn your linux distribution name with this command wsl --list --verbose. Let’s say the name is “Ubuntu”. Now we can backup our distribution to the location where we want
mkdir D:\backup
wsl --export Ubuntu D:\backup\ubuntu.tar
Back up everything you need because anything stored on the WSL drive will be lost. There’s no confirmation, so you’ll lose everything if you don’t back it up!
wsl --unregister Ubuntu
and after that we need to import it again on our new disk/new location etc.
mkdir D:\new_WSL_location
wsl --import Ubuntu D:\new_WSL_location\ D:\backup\ubuntu.tar
By default Ubuntu will use root as the default user, to switch to our user first we need to learn our username with whoami command then we need to run these commands.
cd $env:USERPROFILE\AppData\Local\Microsoft\WindowsApps
ubuntu config --default-user <username>
Finally we will restart WSL by running following command
wsl --distribution Ubuntu
Useful links
Changing Distribution Name
Stop all instances of WSL
On PowerShell, run the command:wsl --shutdownOpen Registry Editor and go to
HKEY_CURRENT_USER\SOFTWARE\Microsoft\Windows\CurrentVersion\Lxss
Each subfolder on Lxss represents a distroLocate and rename the distro you want
Inside each distro folder, you have theDistributionName, change it, and click OKRestart WSL service
Open PowerShell as Admin and run the command:Get-Service LxssManager | Restart-Service(this step is important for vsCode not to throw error!)All set. Run
wsl -lto see the changes.
Creating Another Instance of Distribution
- First of all we need to export existing distribution:
-
wsl --export Ubuntu-22.04 C:\path\to\ubuntu-22.04.tar
-
- Secondly we will import what we export as a new instance:
-
wsl --import ros2_drone_22-04 C:\path\to\installation\directory C:\path\to\ubuntu-22.04.tar --version 2
-
- Finally we can set up the new instance:
-
wsl -d ros2_drone_22-04
-
- You can verify new instance by listing all WSL instances
-
wsl --list --all
-
