Getting Started with Lidar | Step-by-Step Setup for Velodyne VLP-16 with ROS2 on Nvidia Jetson Orin NX
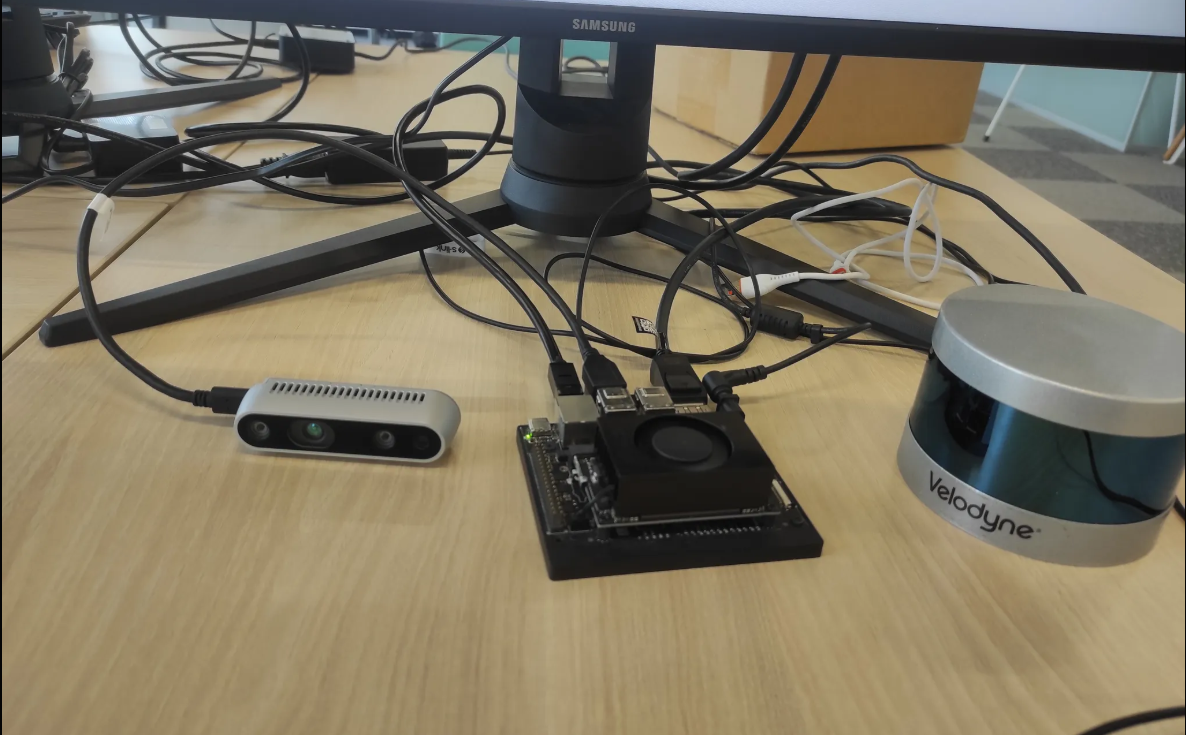
Table of Contents
- What is Lidar?
- How Lidar Works?
- Velodyne VLP-16 Lidar ROS2 Humble Test on NVIDIA Jetson Orin Nx 8 GB Jetpack
- Hardware Setup
- System Requirements
- Install ROS2 Humble
- Velodyne Driver Installation
- Testing the Device & Visualizing the Data
- Visualisation
What is Lidar?
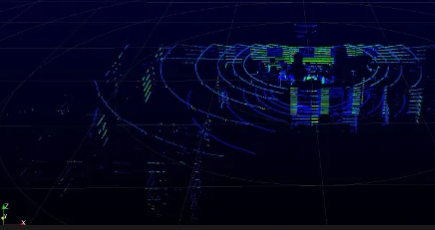
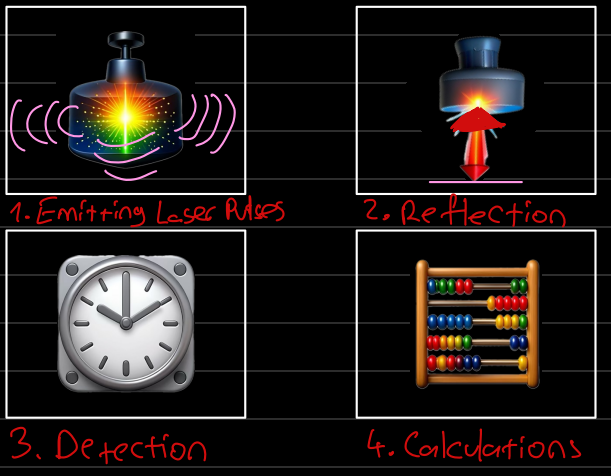
Remote sensing technology which uses laser light to measure distances to objects and surfaces. It is simply emitting laser pulses which bounce off objects and return to sensor. It looks similar isn’t it, Radar also emits bouncing from objects but it uses radio waves, both of them use of TOF idea(Time of Flight) of signal and change in frequency (Doppler shift) to calculate distance, speed, and direction of object. However, there are key differences;
- Resolution: Lidar has a higher resolution and can provide more detailed information about environment.
- Range: Lidar can detect objects at longer ranges
- Interference: Lidar is less susceptible to interference from other sources, making it more suitable for applications in complex environments.
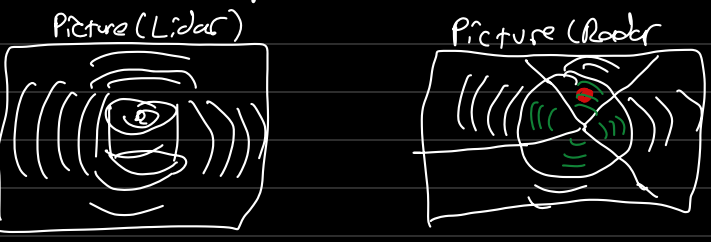
Many of you have probably encountered a Lidar system without even realizing it. Lidar technology plays a crucial role in autonomous vehicles, with companies such as Zoox, Cruise, and Waymo equipping their self-driving cars with multiple units. Beyond the automotive industry, Lidar is widely used in topographic mapping and surveying, with organizations like Geosurvey and Leica relying heavily on this technology.
How Lidar Works?
Velodyne VLP-16 Lidar ROS2 Humble Test on NVIDIA Jetson Orin Nx 8 GB
Hardware Setup
1. Network Connection
Connect VLP-16 to Jetson Orin NX through the Ethernet port. Make sure Jetson is powered!
You can connect through SSH (ssh [username]@[address]) or use an external monitor directly.
2. Power Connection
Power-Up VLP-16 via 12 V adapter
System Requirements
- Update and Upgrade packages
sudo apt update 88 sudo apt upgrade -y
- Install basic tools & ROS2 Dependencies
sudo apt install -y git python3-pip python3-colcon-common-extensions
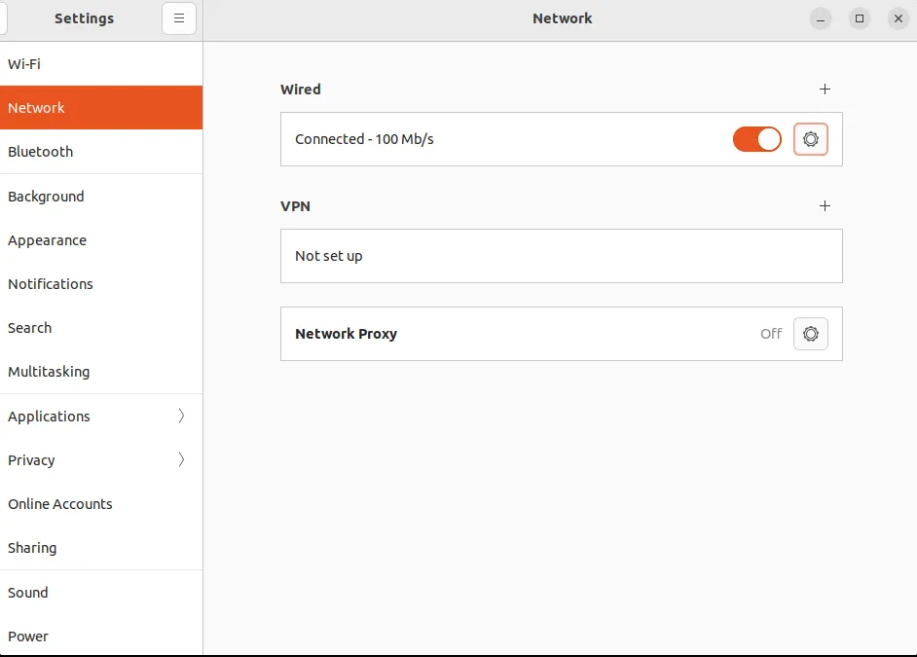
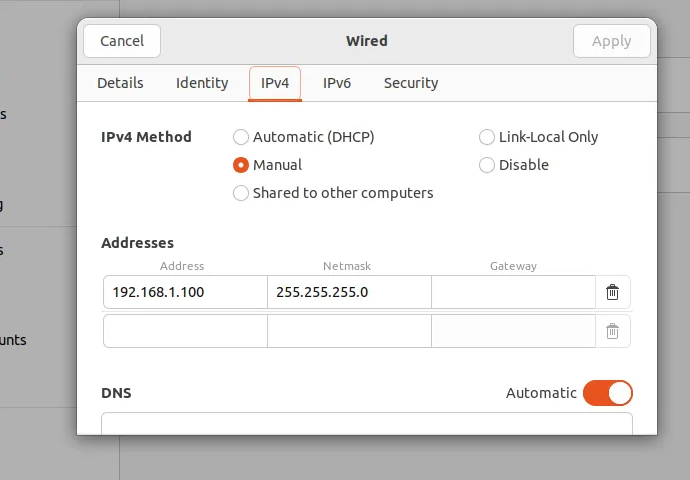
- We need to add IPv4 manually
- Let’s set IP address field to 192.168.1.100 (“100” can be any number you want in range between 1-254 except 201 since it is velodyne vlp-16’s)
- Set netmask to 255.255.255.0 & Gateway to 0.0.0.0
Add static route to Lidar’s IP address
sudo route 192.168.XX.YY eth0 #192.168.1.201
also from network configuration .yaml we can do this
sudo nano /etc/netplan/01-netcfg.yaml
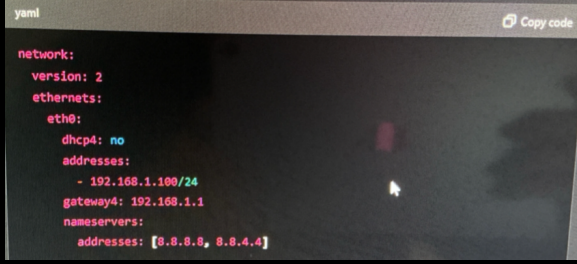
to confirm
ip a | grep etho
- Disable WIFI
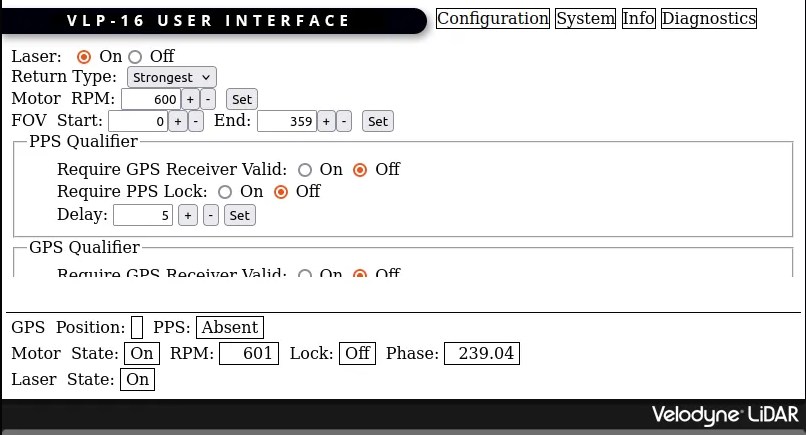
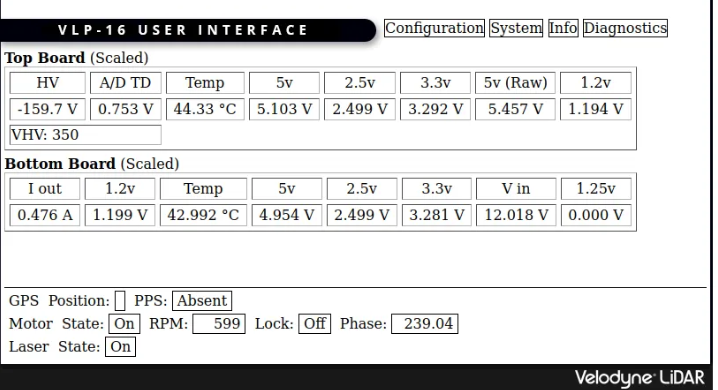
- Open http://192.168.1.201
Install ROS2 Humble
- Set locale
  locale  # check for UTF-8

  sudo apt update
  sudo apt install locales
  sudo locale-gen en_US en_US.UTF-8
  sudo update-locale LC_ALL=en_US.UTF-8 LANG=en_US.UTF-8
  export LANG=en_US.UTF-8

  locale  # verify settings
- Add apt repository & GPG key
  sudo apt install software-properties-common
  sudo add-apt-repository universe

  sudo apt update
  sudo apt install curl -y
  sudo curl -sSL https://raw.githubusercontent.com/ros/rosdistro/master/ros.key -o /usr/share/keyrings/ros-archive-keyring.gpg

  echo "deb [arch=$(dpkg --print-architecture) signed-by=/usr/share/keyrings/ros-archive-keyring.gpg] http://packages.ros.org/ros2/ubuntu $(. /etc/os-release && echo $UBUNTU_CODENAME) main" | sudo tee /etc/apt/sources.list.d/ros2.list > /dev/null
- Install ROS2 packages
sudo apt update && sudo apt upgrade -y
- Install ROS2 Humble and Development tools(This has ROS, RViz, demos, tutorials etc.)
  sudo apt install ros-humble-desktop
  sudo apt install ros-dev-tools
- Source ROS2 in terminal (if you don’t want to do this everytime you open terminal add this to bashrc and source it)
source /opt/ros/humble/setup.bash
Velodyne Driver Installation
There are two ways to install
Building from source
Via deb packages (apt…)
- I will show you “building from source”
  mkdir -p ~/ros2-ws/src
  cd ~/ros2-ws/src
  git clone -b humble-devel https://github.com/ros-drivers/velodyne.git
  cd ~/ros2-ws
  rosdep install --from-paths src --ignore-src -y
  colcon build
  source install/setup.bash #also if you don't want to do this everytime source it in bash
also you can do this by installing deb package
sudo apt install ros-$ROS_DISTRO-velodyne
Testing the Device & Visualizing the Data
To visualize we will use RViz2
sudo apt install -y ros-humble-rviz2
According to your need and device you can launch one of the nodes:

Launch vlp-16 node:
ros2 launch velodyne velodyne-all-nodes-VLP16-launch.py
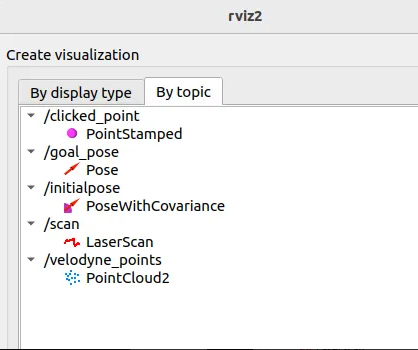
Let’s see topics:
ros2 topic list
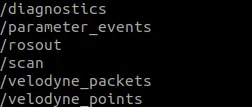
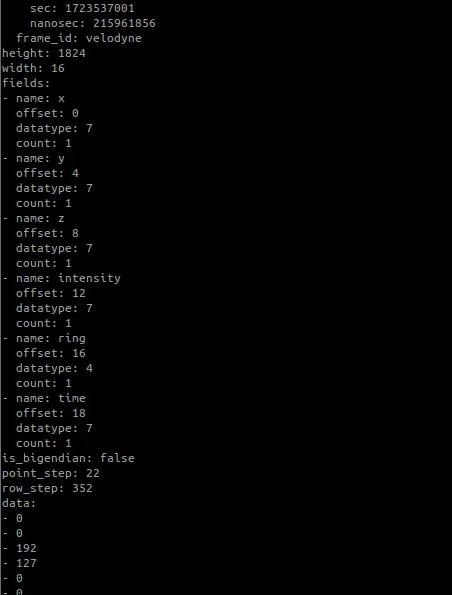
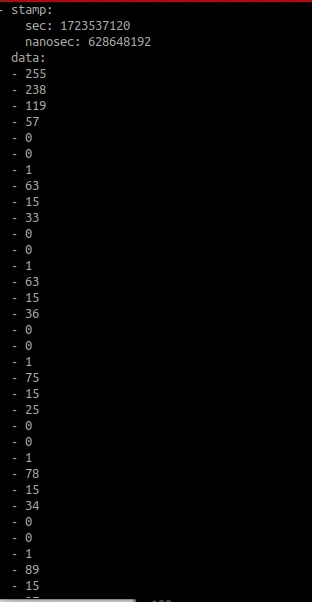
    ros2 topic echo /velodyne_points
    ros2 topic echo /velodyne_packets
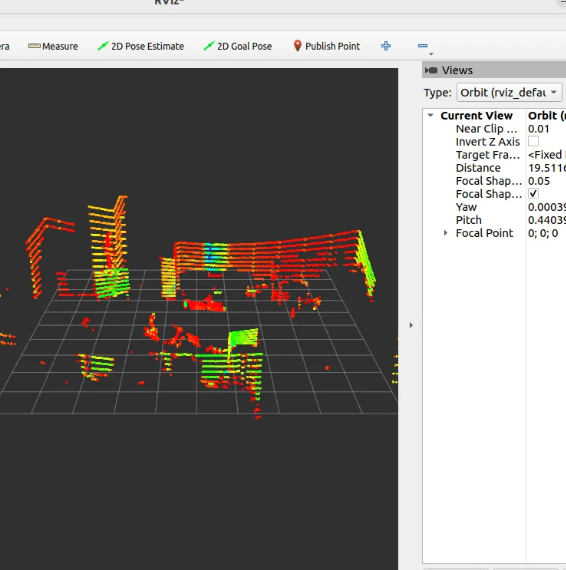
Visualisation
ros2 run rviz2 rviz2 -f velodyne
or you can open rviz2 directly and change settings like fixed frame from /map to /velodyne
